Training guides
How to Train Judo at Home Without Practising Unsafe Throws
Train judo at home by working on posture, footwork, gripping patterns, shadow uchikomi, band-resisted entries, and breakfall preparation on suitable mats. Do not throw another person at home or practise breakfalls on a hard floor.
Direct answer
Train judo at home by working on posture, footwork, gripping patterns, shadow uchikomi, band-resisted entries, and breakfall preparation on suitable mats. Do not throw another person at home or practise breakfalls on a hard floor.
You can build useful repetitions outside a coached session when you choose movements that do not require a resisting partner, heavy spotting, or uncontrolled contact.
What you can and cannot train alone
shisei posture, tsugi-ashi movement, tai-sabaki, controlled entries, grip endurance, and general conditioning. Do not use solo practice to teach yourself live throws, submissions, sparring, maximal lifts, or any movement you cannot stop safely. A qualified coach should supervise those jobs.
Avoid: throwing family members, anchoring bands to furniture, full-speed spinning entries, and breakfalls without proper mats and instruction. This boundary keeps the skill repeatable and reviewable. It stops you from copying the riskiest part of the sport without the conditions that make it coachable.
Useful equipment: clear floor, suitable matting, a secure band anchor, light resistance band, and timer. Use only equipment that the venue permits and that you checked before the session.
Set up the session
Clear the floor, check every anchor and implement, choose a camera angle before you start, and stop the set when your position changes. Quality matters more than squeezing in extra repetitions.
Use this order:
- Two to five minutes of easy movement and joint preparation.
- One slow rehearsal of every drill.
- The main block below at a pace you can stop.
- One recorded set after you already understand the movement.
- A short note with the one checkpoint you will repeat next time.
The core practice block
| Step | Practice |
|---|---|
| 1 | Posture walk: move forward, back, and diagonally without crossing the feet |
| 2 | Tai-sabaki: turn ninety and one hundred eighty degrees while keeping balance |
| 3 | Shadow uchikomi: rehearse the entry and stop before the loading phase |
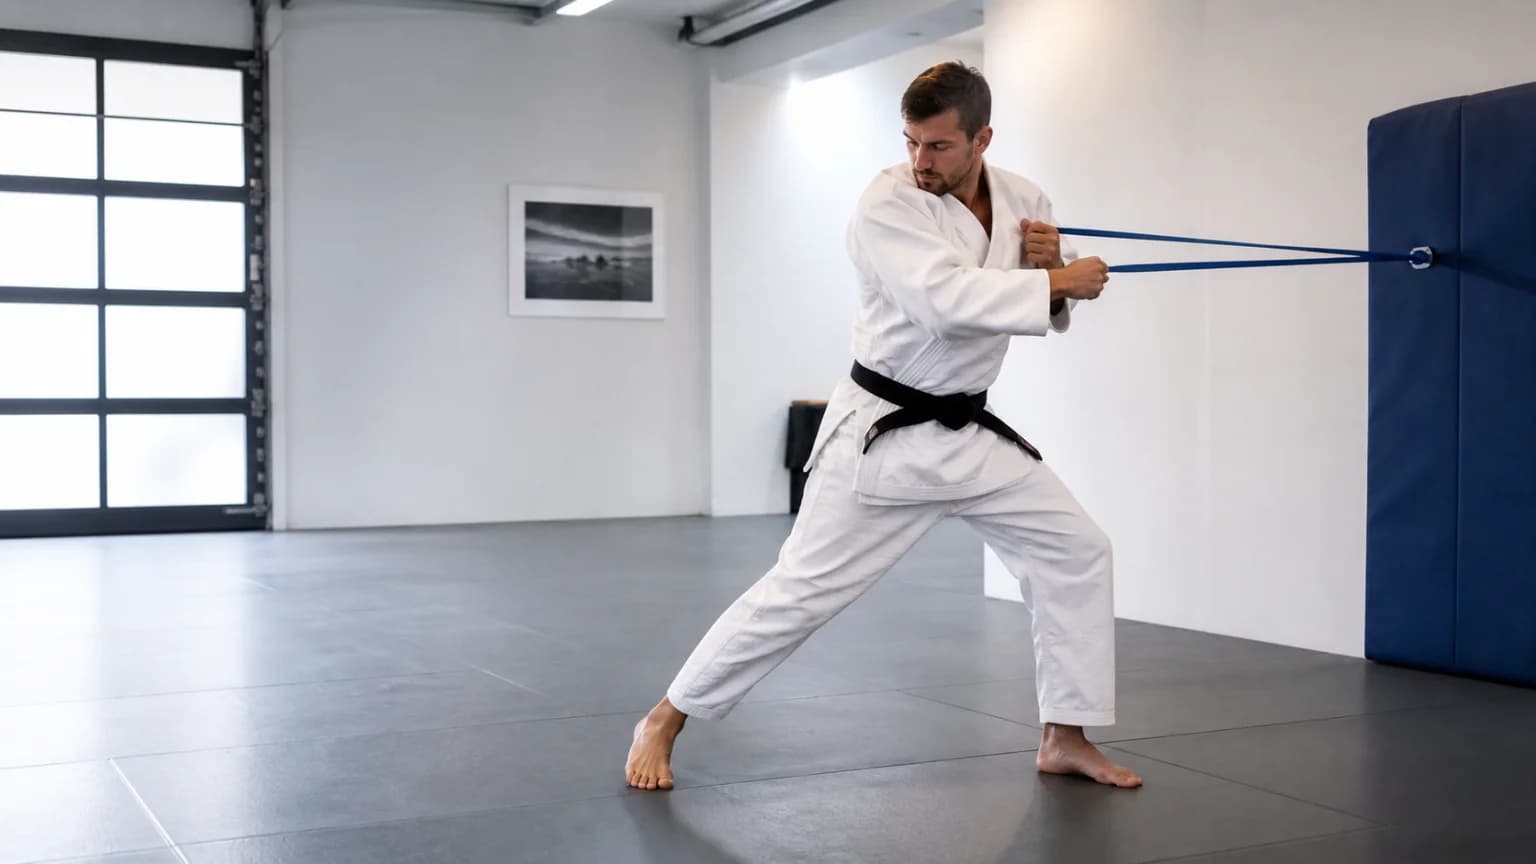
| 4 | Band uchikomi: use light tension and a professionally secure anchor |
| 5 | Grip interval: hold a folded judogi or towel without jerking the fingers |
Use five minutes of footwork, ten minutes of entries, five minutes of grip work, and five minutes of mobility. Bring one filmed entry to your next dojo session and ask your coach to check distance, sleeve hand, lapel hand, and foot placement.
Do not add speed and resistance at the same time. Change one variable, then keep the camera angle, range, and rest period consistent enough to judge the result.
A repeatable weekly plan
Use two or three short technical sessions around your normal coached or strength work. Keep one goal for the whole week so you can compare attempts instead of changing the test every day.
A useful week has one baseline day, one practice day, and one review day. Record a normal attempt on the baseline day. Practise the selected cue without the camera on the second day. Repeat the original setup on the review day and decide whether the cue produced a visible difference.
Use these related guides when you need a narrower explanation: app comparison, video analysis guide, technique guide. Each page solves a separate job, so this plan stays focused on the question above.
Use video as a decision tool
Record one baseline set from an angle that shows the joints and contact points that matter. Review one visible checkpoint, save one cue, then record a second comparable set. Video cannot replace coaching, but it can make your next coaching question more precise.
Common mistakes
- pulling the band with the arms instead of turning the body
- crossing the feet during movement
- finishing a shadow entry off balance
Another common error is changing the drill, angle, load, and cue together. That creates activity but leaves no clean comparison. Keep the test simple enough to learn from it.
Questions people ask
Can a beginner use this plan?
Yes, if you keep the drills controlled, use conservative resistance, and ask a qualified coach to check any skill that involves contact, impact, falling, or heavy loading.
How long should a session last?
Twenty to forty focused minutes is enough for most technical sessions. End earlier when speed, balance, or joint position changes.
How do I know whether I improved?
Compare the same drill under the same conditions. Look for a cleaner position, steadier tempo, or fewer compensations. Do not treat one flattering camera angle as proof.
Sources and scope
This guide separates controlled practice from skills that need qualified supervision. The linked governing-body material defines the sport context; the product link documents the app workflow.